
Understanding how a Texture Analyser works – choosing the best test settings
 3 minute read

When creating your optimum test method for texture/physical property measurement you will need to make choices on each of the setting values according to the type of test you have chosen. The values will depend heavily on the sample.
Pre-test speed
The probe begins to move from its start point towards the sample at the pre-test speed.

When trying to find a trigger force your pre-test speed should really not exceed 3mm/sec for best initial data capture and the most accurate starting point. A fast approach can lead to a late trigger (or ‘overshooting’) therefore entering the sample before data is being collected. Usually the pre-test speed is slower than the test speed.
Trigger force
When the probe registers a force equal to the trigger force the speed changes to the test speed and the system starts to collect data. This should occur when the probe and product have full contact. The default value for trigger force is set to 5g but may need to be adjusted.
Trigger force depends on:
- Sample hardness – a very hard sample may require a slightly higher trigger force.
- Sample softness – a very soft sample probably needs a very low trigger force.
- Probe size – you will need to consider the increased contact area.
- Whether the sample has a flat surface or not. An uneven surface may cause an early trigger.
- The Load Cell that is installed in your Texture Analyser may have an effect on the success of trigger force you wish to find.
We suggest that you start with a trigger force set to 5g and test your softest sample first. As the test commences watch to see if full contact between the probe and the sample is obtained before you ‘hear’ the change to the test speed.
Using a button trigger
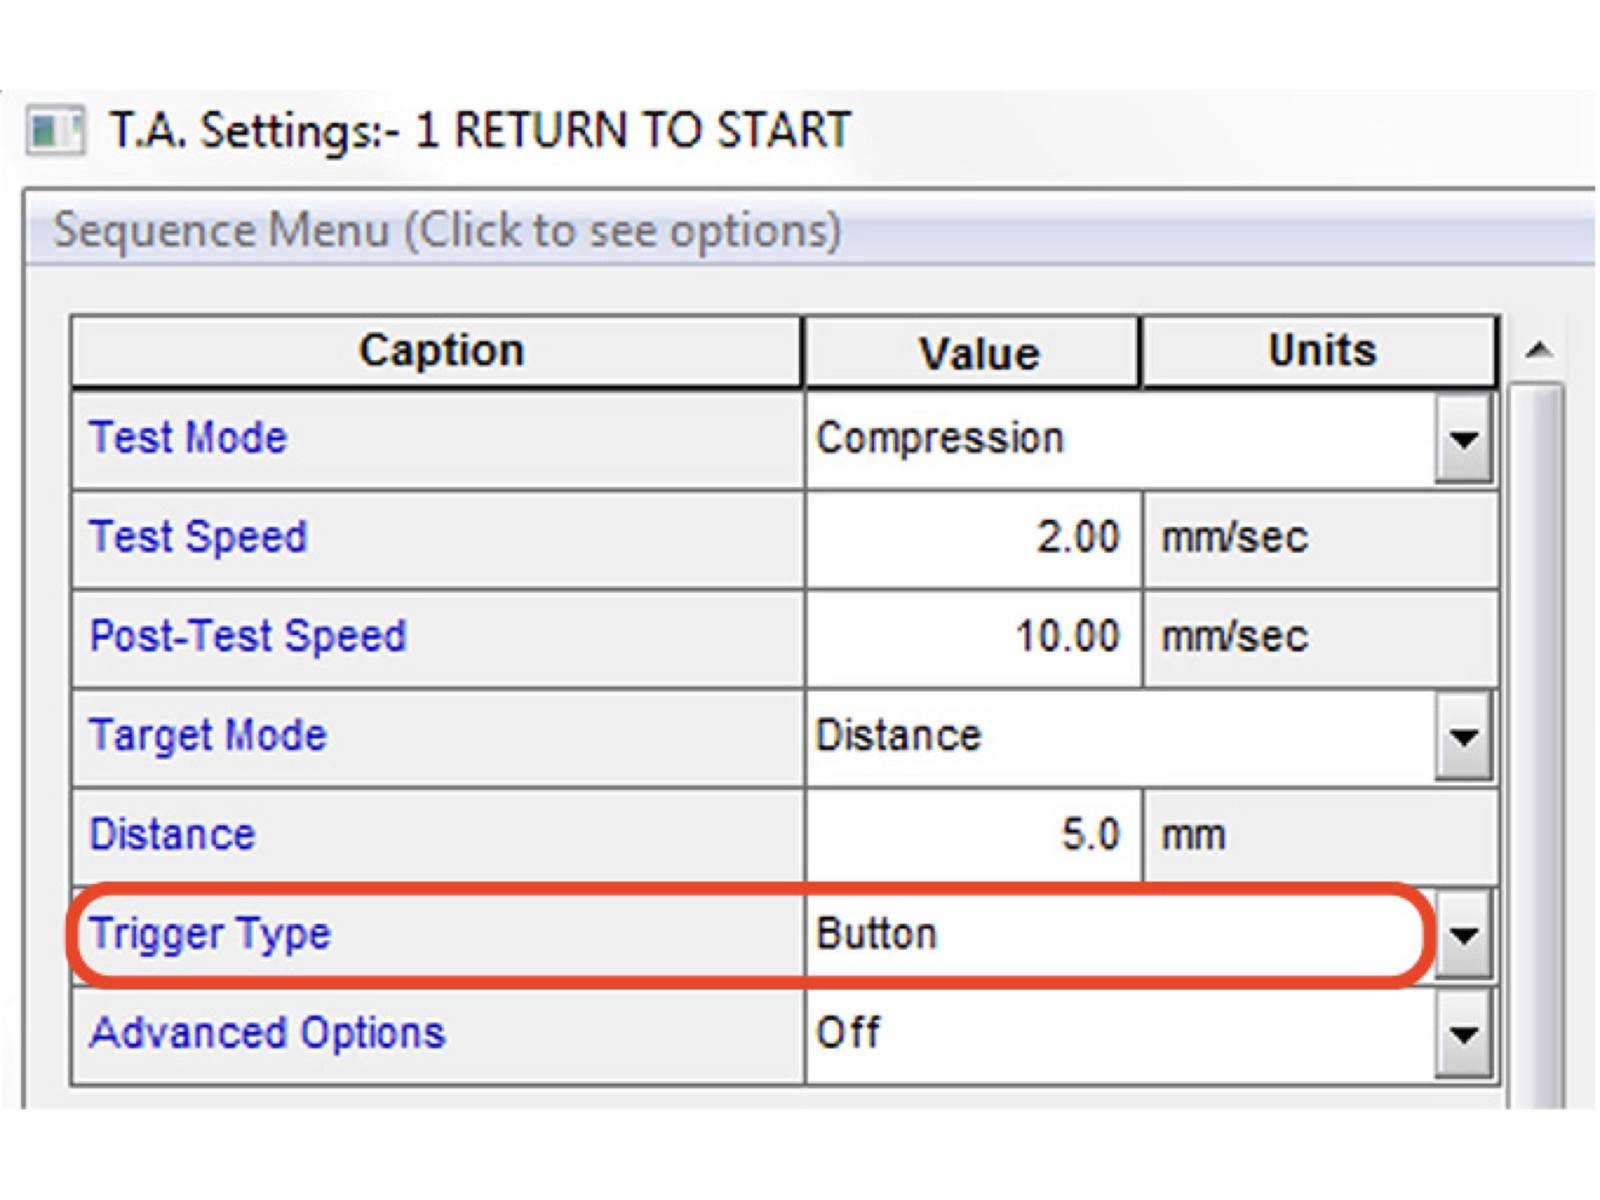
A button trigger is often chosen when testing products of differing heights or very thin materials e.g. granules, or bulk compression tests. The probe/attachment should be calibrated and the starting point of the test must remain the same each time. Choosing a button trigger avoids, for example, touching the base of the Texture Analyser when using a knife blade. Tests are performed to the same distances of compression with respect to the surface you have calibrated the probe against.
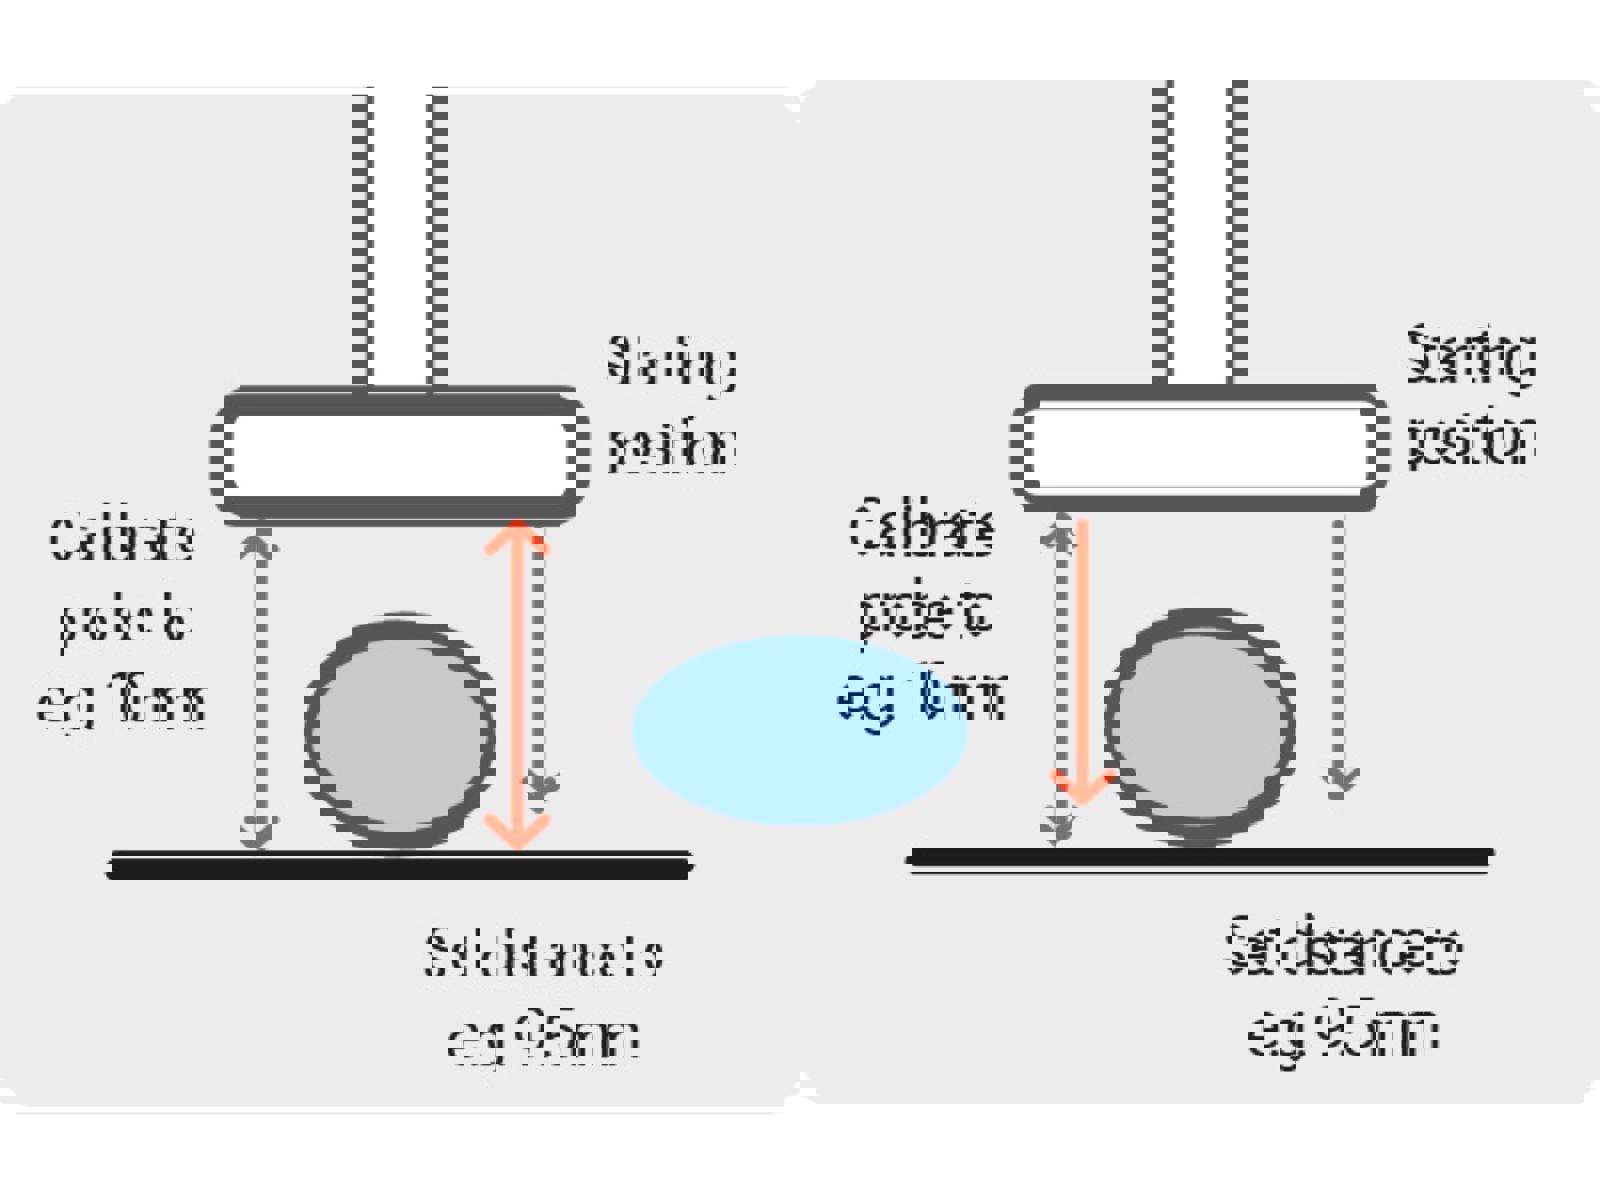
How to use a Button trigger?
Calibrate the probe and return to the required starting point of the test. You can save this position as Position 1 within the probe control window for quick positioning between tests.
When choosing the distance of compression choose a distance smaller than that between the base and the starting position (therefore the probe/blade will not overload by touching the base).
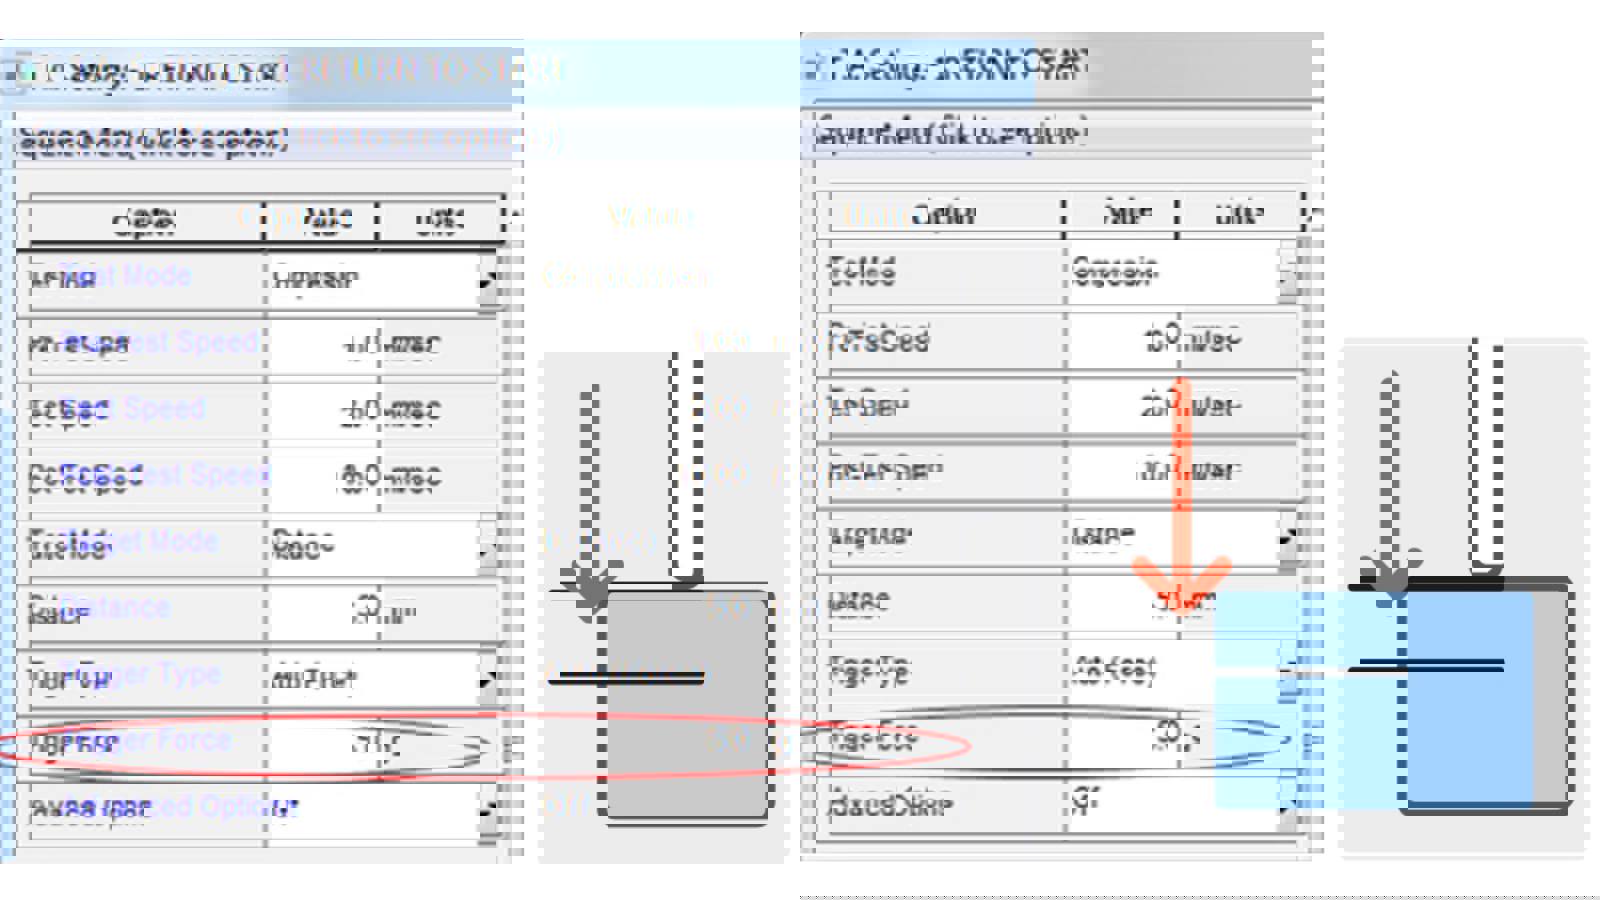
Post-test speed
Once the target distance is achieved the probe/fixture usually (i.e. Return to Start test) returns to its starting point at the post-test speed. For the majority of samples (e.g. compression/puncture) the information from the withdrawal of the probe is irrelevant - in this case it makes sense to return to the start at a fast speed to save time between tests. However, when measuring parameters such as stickiness, consistency (in a back extrusion test), the post-test speed then needs to be considered. As a general rule, speeds of 10mm/s – 40mm/s encourages separation of ‘sticky’ products (where adhesiveness is to be measured) whereas 1-2mm/s is preferred for viscoelastic materials as it encourages flow (where consistency is to be measured).
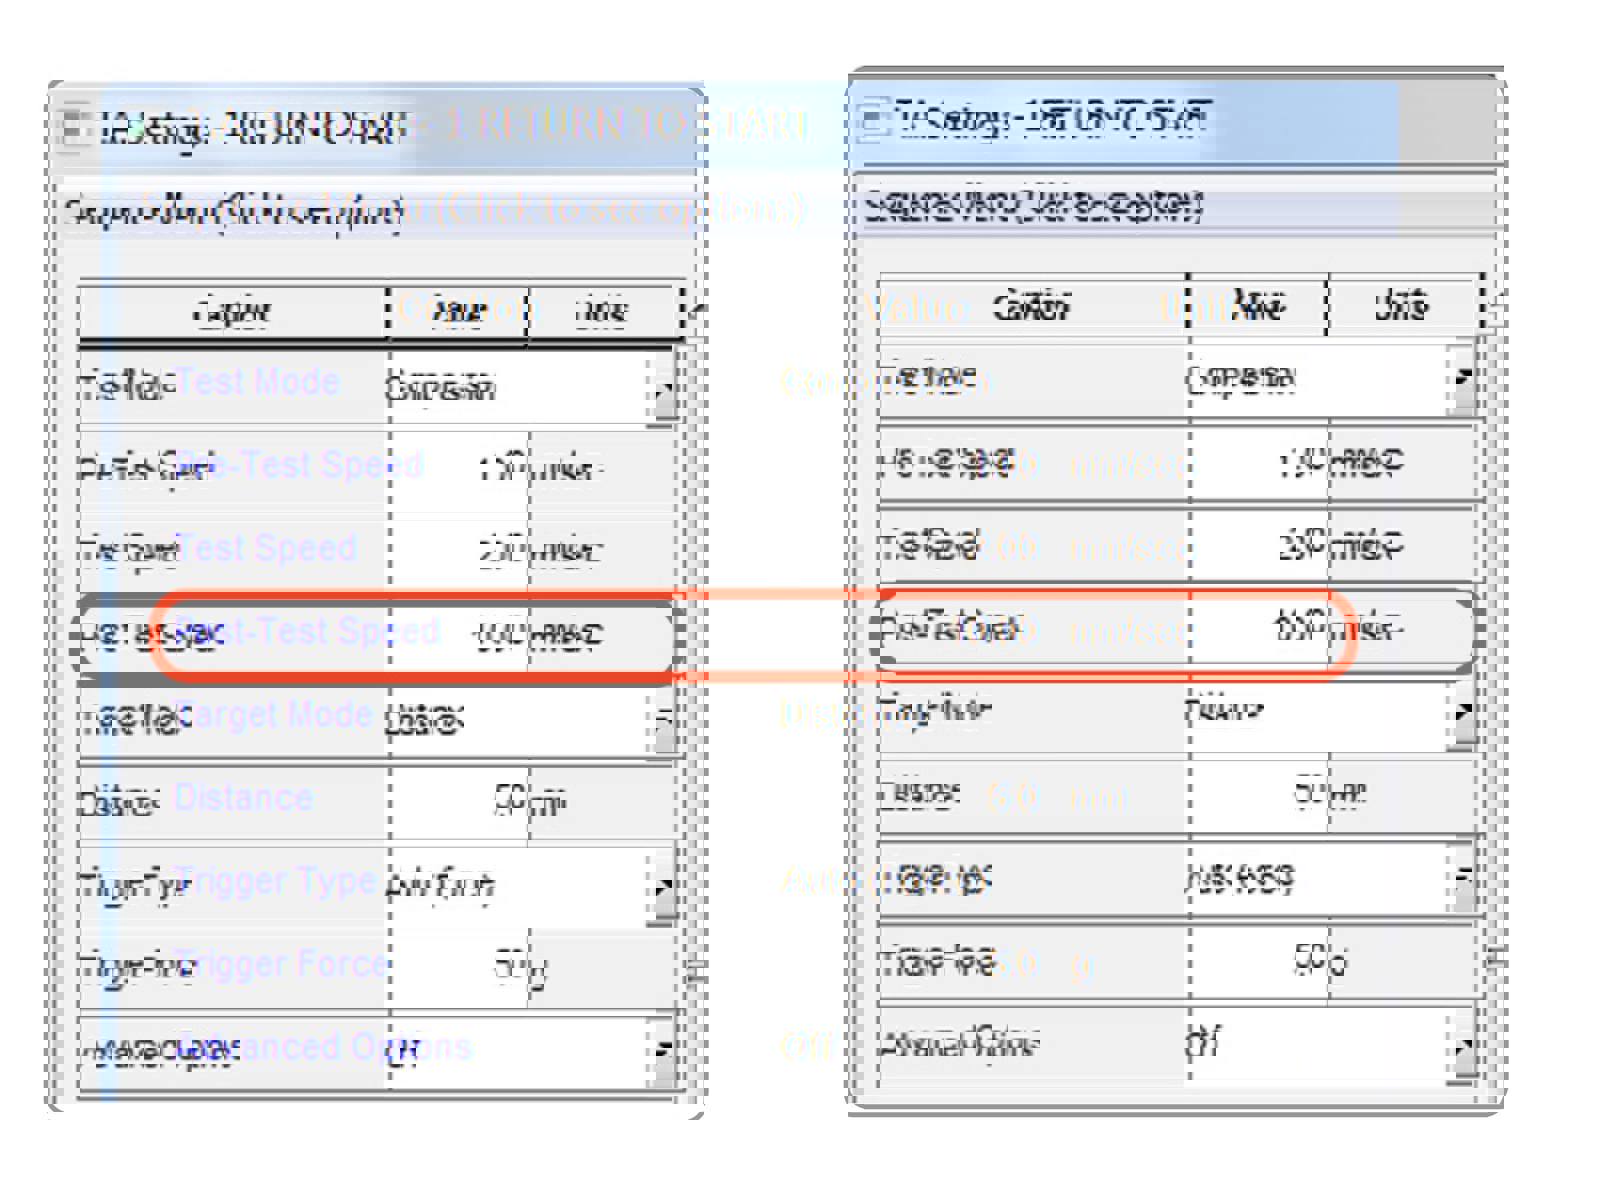
Data acquisition rate
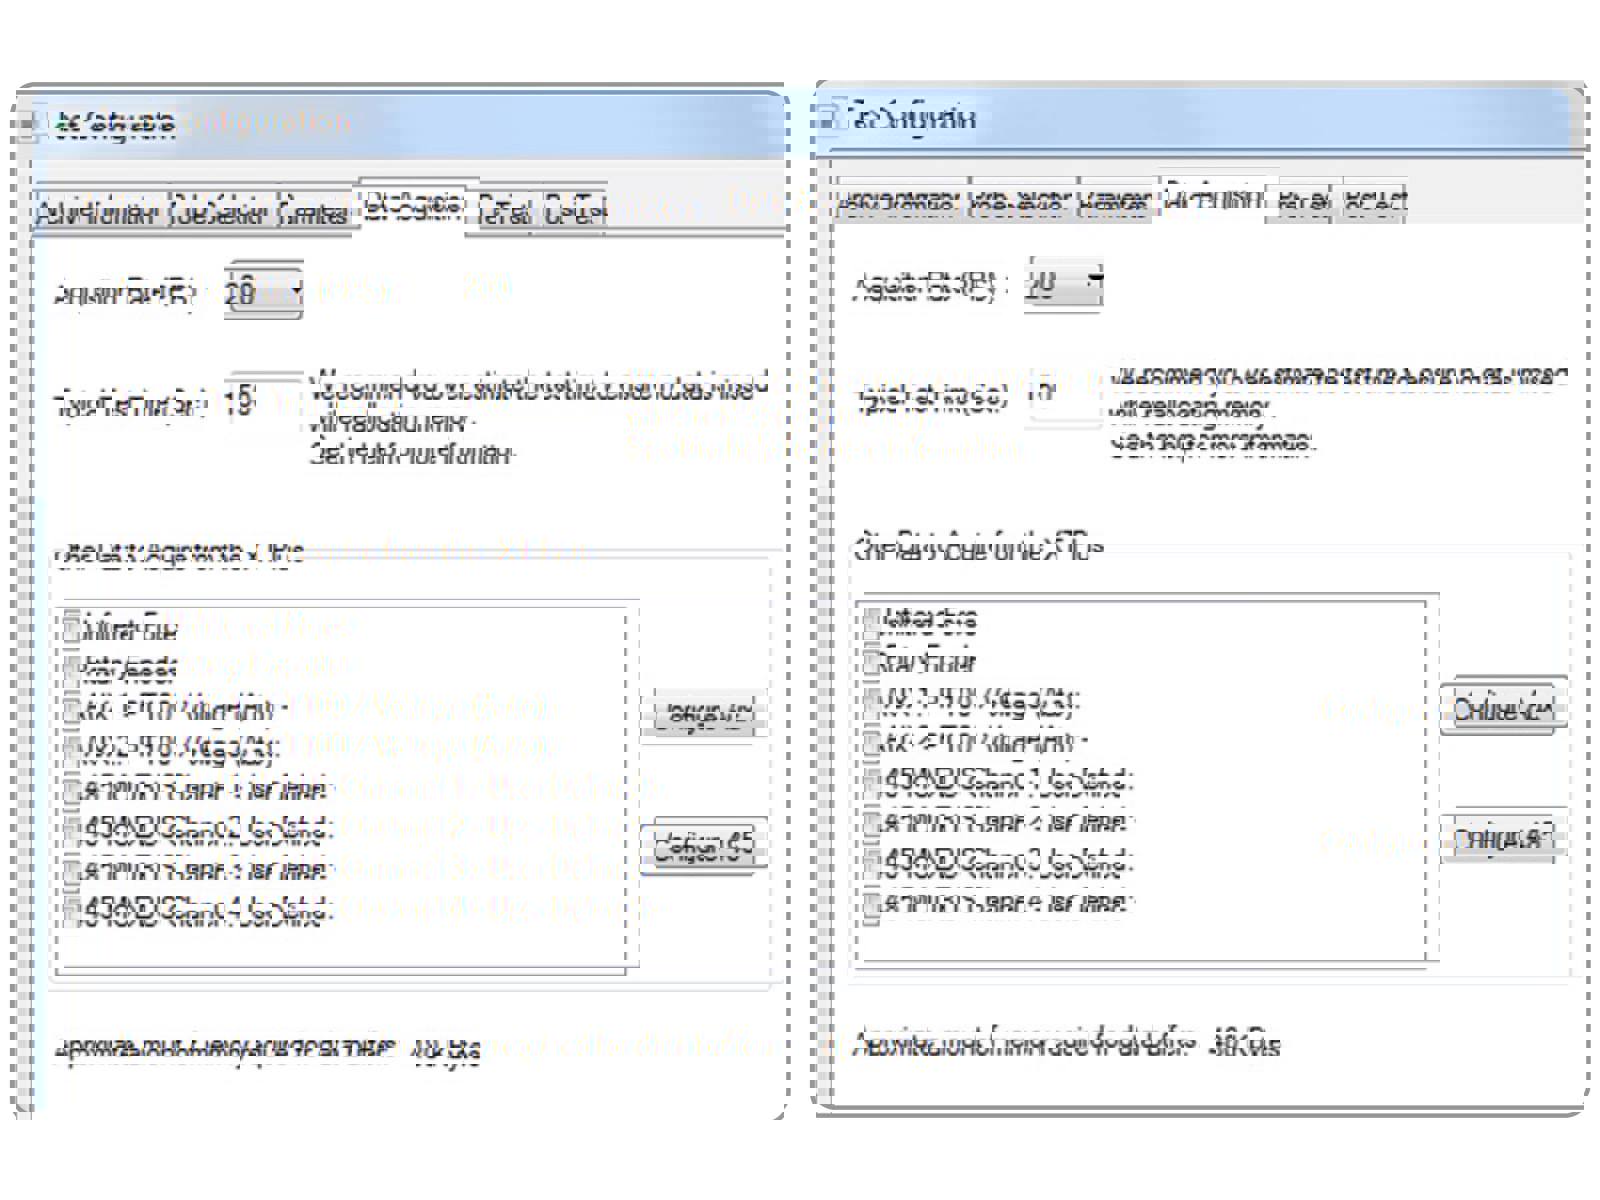
Data Acquisition is the speed at which data is collected during a test. High rates are important for fracture and adhesive tests as these tests are usually short or associated with events that occur very quickly.
When an event occurs over a short period of time it is important to capture as many data points during the test as possible.
When measuring a break, fracture or brittle product we recommend you collect data at 500pps for maximum data detail (up to 2000pps is available in Connect models only).
This information is also contained within the Education Zone of Exponent Connect software:

Alternatively, request ‘Optimising your texture analysis test method – the ultimate guide' to assist your understanding.
If you have lost it, request a comprehensive manual to be emailed to you.


