Product overview
A penetration test could well be considered the most simple of all tests. As the size of the probe surface area is constant this often means that the sample size does not need to be carefully controlled unlike compression testing. However, when faced with a non-homogeneous product penetration is highly compromised as a smaller surface area for measurement is also more sensitive to variations in sample structure and low reproduceability and misleading data is obtained. Results may show a wide variance between maximum and minimum forces depending on whether the probe meets with, for example, an air pocket, hard particle or internal structure variation.
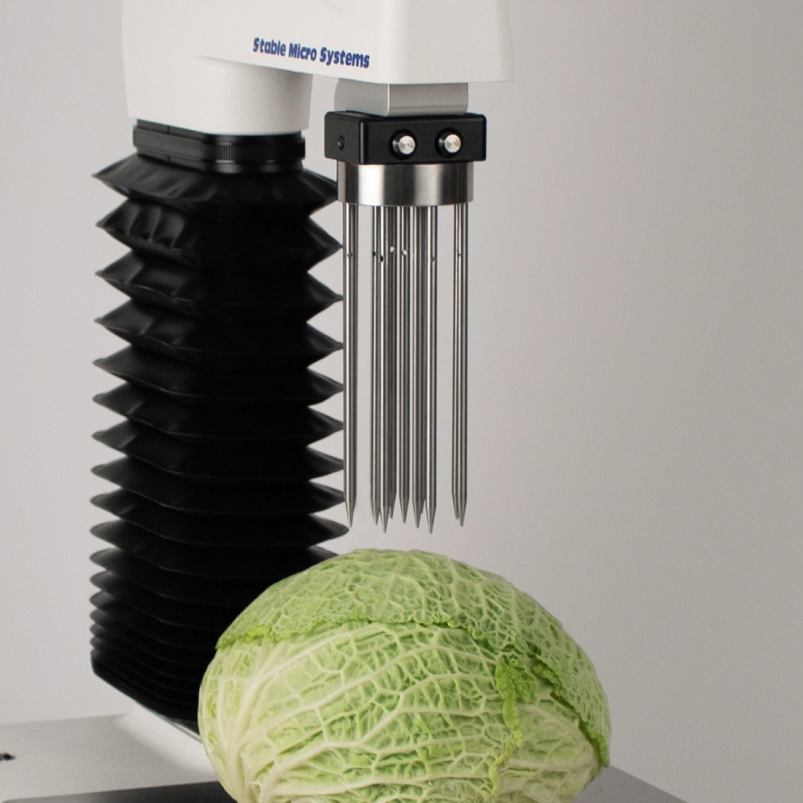
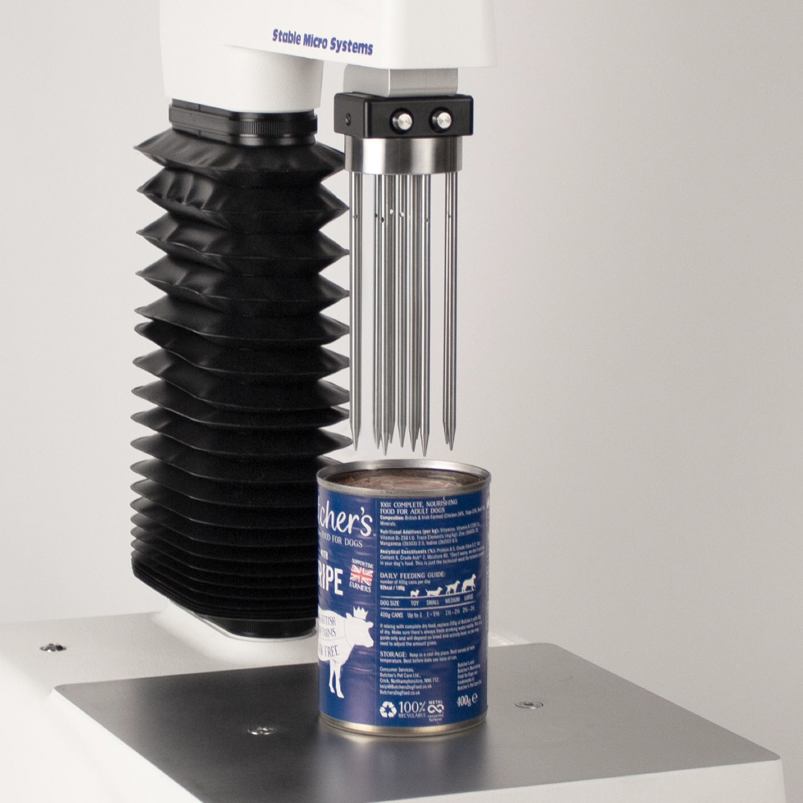
Quantifying the firmness/hardness of products such as 'thick cut' marmalades or ice cream containing particulates, e.g. meringue pieces, chocolate chips, fruit chunks, has always been difficult. The number, size, shape and distribution of particulates are usually randomly distributed within each container. While it is relatively easy to quantify the firmness of the ice cream matrix on its own using standard penetration probes this method is extremely difficult when the ice cream contains particulates. A standard penetration test on such a non-uniform product is expected to have low reproducibility. Similarly, products such as vegetables heads (lettuce) consist of different layers and are therefore impossible to measure repeatably with a single penetration test.
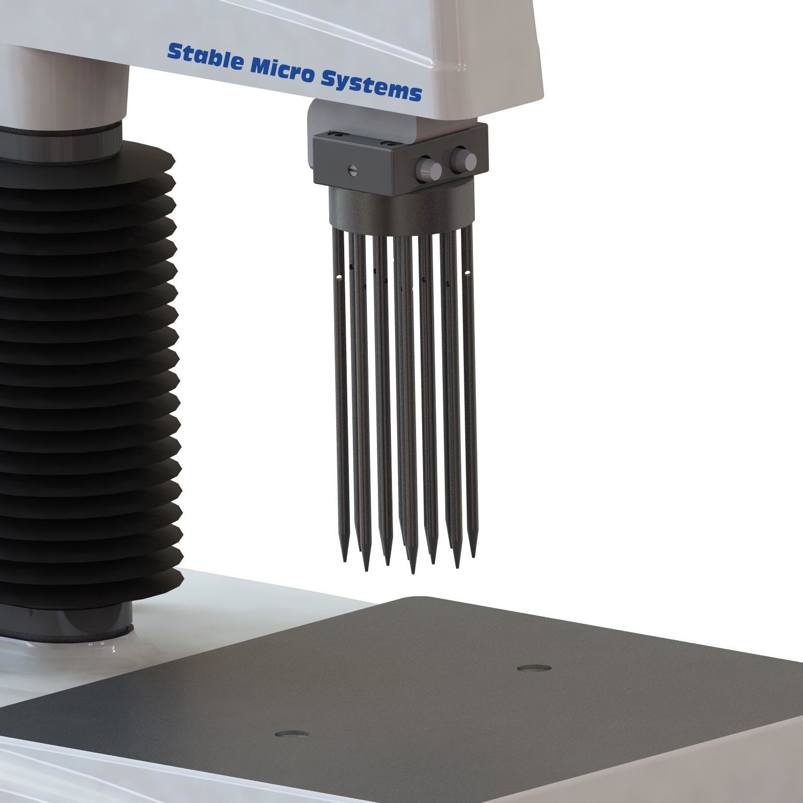
The use of a Multiple Puncture Probe which penetrates the sample in several regions serves to create an averaging effect and is therefore usually more repeatable. Using several testing pins, attached to the Texture Analyser, manufacturers can test non-uniform products containing particulates of different size, shape, structure and levels of hardness, to provide repeatable results.
Probes can be removed for cleaning and can be replaced easily if damage has occurred. The testing method also offers flexibility. In the event that forces produced are above the capacity of the Load Cell being used in the Texture Analyser the operator has the option to remove probes to reduce the contact area and therefore the forces produced. One must note, however, that the use of fewer puncture probes for the testing of a non-uniform sample is likely to decrease the reproducibility of the results and is therefore a testing compromise.
Testing fruits of non-homogenous nature or variable texture, such as water melons where there is a high seed content, is not only tricky by any puncture, shearing or compression method, but often results in low reproducibility and misleading data. In any of these tests, the data may show wide variances between maximum and minimum force resistance, depending upon whether the probe or attachment meets with less or more seeds or variable texture when tested. In the case of water melons, for example, the central pins may be removed so as to avoid the hard core which might produce misleading results. The outer ring of pins are then ideally located as they can puncture the heart of the melon yet avoid the majority of the seeds. Preparation involves cutting the melon in half and removing the blossom end with a sharp knife to provide extra stability. The melon is then presented to the Texture Analyser and levelled if necessary to ensure a flat testing surface. The multi-penetration test is commenced and the area under the curve taken as average flesh firmness. By penetrating the product in several areas at the same time, the Multiple Puncture Probe produces a more representative averaging effect.
How does the Multiple Puncture Probe work?
Ideal sample form
Non-homogeneous materials which are either self-supporting or need to be contained in a vessel.
Benefits and limitations
- Allows testing of the sample in multiple locations thereby creating an averaging effect.
- May not be possible on Express490 instruments due to required testing stroke.
Technical information
Installation
Full installation instructions are provided within the Education Zone of the latest Exponent/Connect software version and on the technical information sheet accompanying this product.
Chemical compatibility
Stable Micro Systems probes and attachments are commonly made from four materials: anodised aluminium (AA6082 T6), stainless steel (316 T), Delrin (acetyl copolymer) and Perspex (polycarbonate).
In general use, probes and attachments made from these materials will be suitable for testing food products and inert non-food materials.
The four materials listed above are not universally resistant to all types of chemicals and as such the compatibility of the probe/attachment material with the product (to be tested) must be established to prevent damage to the probes and attachments. If the compatibility of the product with the probe is unknown to the customer then the chemical information about the product (Material Safety Data Sheet or Product Data Sheet) should be submitted to Stable Micro Systems. Stable Micro Systems will then assess the suitability of the probe/attachment material for use with the product and advise accordingly. If this advice is not sought then Stable Micro Systems will not accept liability for probes/attachments damaged by chemical attack from the product being tested.
Cleaning and maintenance
All probes and attachments may be cleaned in warm (or hand hot) water using a mild detergent. A soft brush may be used but abrasive cleaning aids should be avoided. Stable Micro Systems products should not be microwaved or cleaned in a dishwasher.
Screw threads should be lightly lubricated after drying using a light lubricant, e.g. petroleum jelly, mineral oil. This will aid the fitting and unscrewing of the item. Each component of a probe or attachment should be wrapped separately when stored, to avoid scratching or chipping. This will safeguard against any unnecessary damage to the accessory.

